The Process of Installing Tile in Arizona Homes
- Dhimiter Rrera

- Jul 28
- 4 min read
Tile installation is a popular choice for many homeowners in Arizona due to its durability, aesthetic appeal, and ability to keep homes cool in the hot climate. Whether you are renovating your kitchen, bathroom, or outdoor patio, understanding the tile installation process can help you make informed decisions and achieve the best results. This guide will walk you through the essential steps of installing tile in Arizona homes, including preparation, materials, and tips for a successful project.
Preparing for Tile Installation in Arizona
Before starting tile installation, proper preparation is crucial. Arizona’s dry climate and temperature fluctuations require specific considerations to ensure the tile adheres well and lasts for years.
Assess the Surface: The surface where the tile will be installed must be clean, dry, and level. Common surfaces include concrete, cement backer board, or plywood. Any cracks or uneven areas should be repaired.
Choose the Right Tile: Porcelain and ceramic tiles are popular in Arizona due to their resistance to heat and moisture. Natural stone tiles like travertine are also common but may require sealing.
Gather Tools and Materials: Essential tools include a tile cutter, notched trowel, spacers, level, grout float, and a rubber mallet. Materials include tile adhesive (thin-set mortar), grout, and sealant.
Proper preparation helps prevent issues like tile cracking or adhesive failure, which can be exacerbated by Arizona’s dry heat.

Step-by-Step Tile Installation Process
Installing tile involves several key steps that must be followed carefully to ensure a professional finish.
Layout Planning
Start by planning the tile layout. Measure the area and mark the center point. Dry-lay tiles without adhesive to visualize the pattern and minimize small cuts at edges.
Applying Adhesive
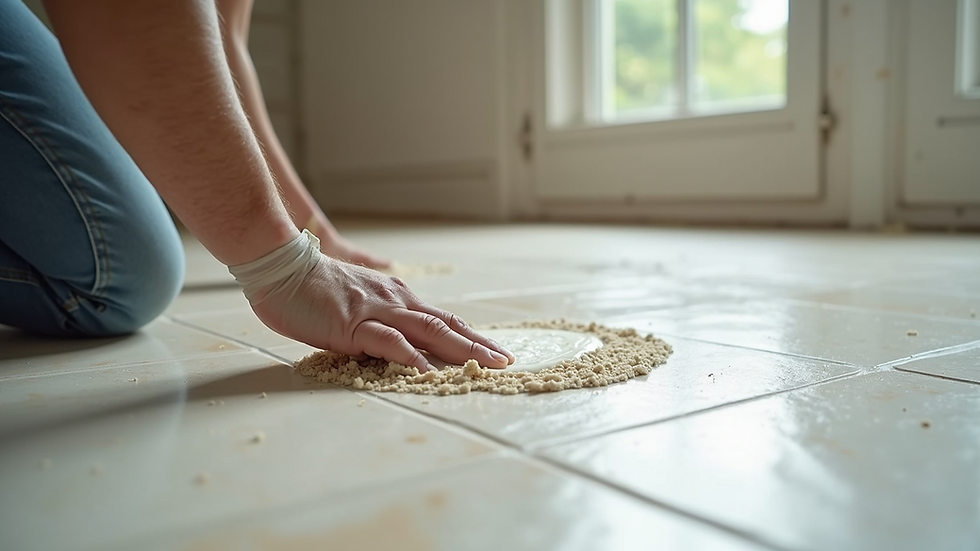
Use a notched trowel to spread thin-set mortar evenly on a small section of the surface. Work in small areas to prevent the adhesive from drying out before tiles are placed.
Laying Tiles
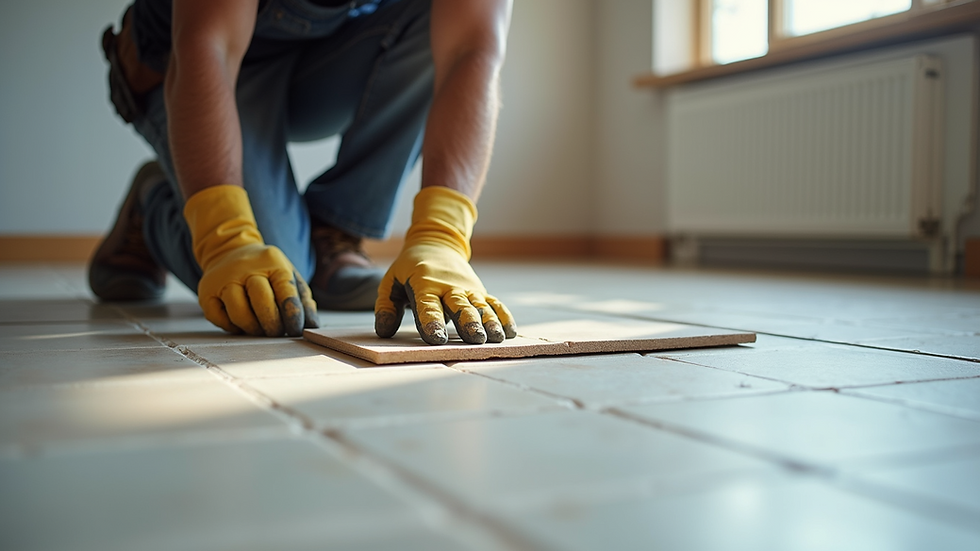
Press tiles firmly into the adhesive, using spacers to maintain consistent gaps for grout. Check alignment frequently with a level.
Cutting Tiles
Use a tile cutter or wet saw to cut tiles to fit edges and corners. Always wear safety goggles and follow manufacturer instructions.
Allow Adhesive to Set
Let the adhesive cure for 24-48 hours before walking on the tiles or applying grout.
Grouting
Remove spacers and apply grout with a rubber float, pressing it into the gaps. Wipe excess grout with a damp sponge and allow it to dry.
Sealing
Once grout is dry, apply a sealant to protect tiles and grout from stains and moisture.
Following these steps carefully will result in a durable and attractive tile floor or wall.

How much does it cost to install tile in Phoenix?
The cost of tile installation in Phoenix varies depending on several factors:
Tile Type: Porcelain and natural stone tiles tend to be more expensive than ceramic.
Area Size: Larger areas require more materials and labor.
Labor Costs: Professional installation rates in Phoenix typically range from $5 to $15 per square foot.
Preparation Work: Additional costs may arise if the surface needs repair or leveling.
Complexity of Design: Intricate patterns or mosaics increase labor time and cost.
On average, homeowners can expect to pay between $1,000 and $4,000 for a standard tile installation project in Phoenix. It is advisable to get multiple quotes from reputable contractors to ensure competitive pricing and quality workmanship.
For those seeking expert help, tile installation phoenix services offer professional guidance and installation tailored to local conditions.
Tips for Maintaining Tile in Arizona Homes
Tile is a low-maintenance flooring option, but proper care will extend its life and keep it looking fresh.
Regular Cleaning: Sweep or vacuum regularly to remove dirt and grit that can scratch tiles.
Use Mild Cleaners: Avoid harsh chemicals that can damage grout or tile surfaces. Use pH-neutral cleaners.
Seal Grout Annually: In dry climates like Arizona, grout can crack or become porous. Sealing helps prevent damage.
Protect from Heavy Impact: Use furniture pads to avoid chipping tiles.
Address Cracks Promptly: Repair any cracked tiles or grout to prevent water damage and further deterioration.
By following these simple maintenance tips, tile floors and walls will remain beautiful and functional for many years.

Enhancing Your Home with Professional Tile Installation
Choosing professional tile installation can save time and ensure a flawless finish. Experts understand the unique challenges posed by Arizona’s climate and can recommend the best materials and techniques.
Customized Solutions: Professionals can help select tiles that complement your home’s style and withstand local weather.
Efficient Installation: Skilled installers work quickly and accurately, minimizing disruption.
Warranty and Support: Many contractors offer warranties on their work, providing peace of mind.
Whether upgrading your kitchen backsplash, bathroom floor, or outdoor patio, professional tile installation enhances your home’s value and comfort.
Understanding the tile installation process and local considerations is key to a successful project in Arizona homes. With proper preparation, quality materials, and expert help, your tile surfaces will be both beautiful and durable for years to come.


Comments