How to Prepare Your Home for a Tile Installation Project
- Dhimiter Rrera

- May 29
- 4 min read
Preparing your home for a tile installation project can seem daunting, but with the right steps and organization, you can make the process smoother and more efficient. This guide will walk you through essential preparation steps to ensure your tile installation goes off without a hitch.
Understanding the Tile Installation Process
Before diving into the preparation, it’s key to understand what tile installation entails. The project involves removing old flooring (if applicable), leveling the subfloor, laying the tiles, and applying grout and sealants. Knowing what to expect helps you plan better.
When you choose to undertake a tile installation, consider that proper planning will minimize disruptions in your home. It’s better to spend time preparing than to rush when the installers arrive.

Cleaning and Clearing the Installation Area
The first step in preparing your home is cleaning the area where the installation will take place. Here are some tips for effective cleaning:
Remove Furniture: Clear out any furniture from the room. For larger pieces that you can't move, place them in the center and cover them with a drop cloth to protect them from dust and debris.
Clear the Floors: Remove any rugs or mats. Ensure the floor is free of dirt and dust, as this can affect the adhesion of the tiles.
Take Down Wall Décor: If you have artwork, mirrors, or hooks on the walls, remove them. This will not only keep them safe but also give you a clear space to work in.
Light Fixtures and Appliances: If the installation includes areas near or around appliances or light fixtures, disconnect them or move them out of the way if possible.
By creating a clean and clear environment, you are setting the stage for a successful installation.

Ensuring Proper Measurements and Layout
Once you have a clean space, the next step is to ensure that you have the proper measurements and layout for the tile installation. This step is crucial as it can prevent mistakes that could cost time and money later on.
Measure the Area: Use a tape measure to get the exact dimensions of the space. This will help in calculating how much tile is needed, as well as the layout.
Consult with Experts: If you are unsure about the measurements, consult with your tile installer. They can provide insights and even measure the space for you.
Create a Layout Plan: Once you have your measurements, sketch out a rough draft of your tile layout. This helps visualize how the pattern will look and ensures that the installation will be aesthetically pleasing.
Consider Tile Direction: Decide on the direction of tile placement. Some patterns may appear more visually appealing when installed diagonally, while others look best in straight rows.
By closely measuring and planning the layout, you’ll avoid cuts, waste, and potential design flaws.
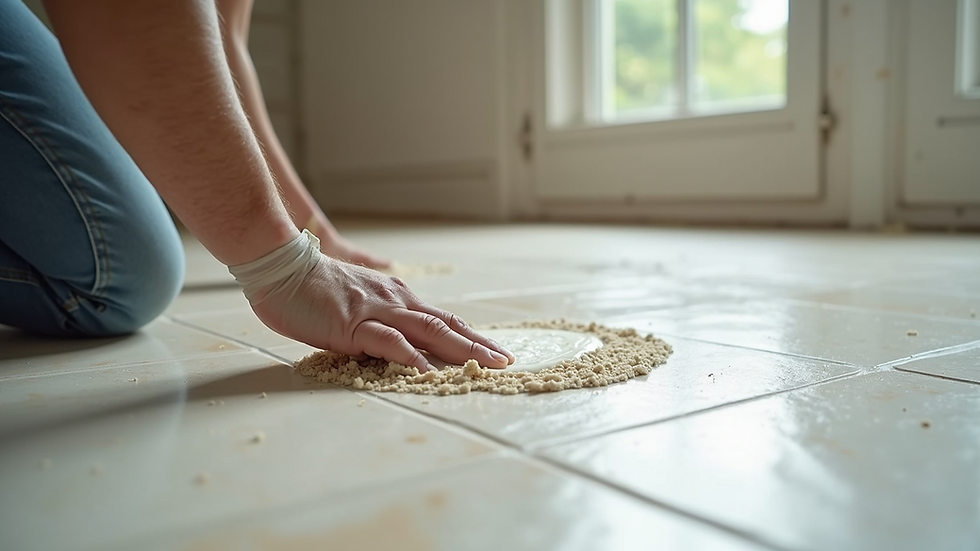
Preparing the Subfloor
Preparation of the subfloor is vital to a successful tile installation project. A sturdy, level subfloor ensures that your tiles will remain secure and will prevent future issues.
Inspect the Subfloor: Examine the existing floor for any damage. Look for signs of rot, moisture, or unevenness. If any issues arise, repair them before proceeding with the tile installation.
Level the Floor: Use a leveling compound if your subfloor is uneven. For large dips or high spots, a professional may need to be called in to ensure the surface is flat.
Ensure Dryness: Conduct a moisture test if the area has experienced leaks or flooding. Tiles need a dry environment for proper installation.
Clean the Subfloor: After inspecting and repairing, be sure to clean the subfloor thoroughly. Any debris or dust can interfere with the adhesion of the tiles.
Taking the time to prepare the subfloor will significantly impact the longevity and quality of your tile flooring.

Choosing the Right Materials
Selecting the right materials for your tile installation is crucial. Tiles come in various materials, styles, and sizes, each offering distinct benefits and aesthetics.
Tile Material: Determine which type of tile (ceramic, porcelain, natural stone) best fits your needs. Consider factors such as durability, maintenance, and appearance.
Grout and Adhesives: Choose a grout color that complements your tiles. Additionally, select a high-quality adhesive suitable for the specific tile type and installation location.
Underlayment: In some situations, using an underlayment is essential. This adds extra support and helps prevent cracking.
Accessories: Don't forget about trim pieces or edge finishing materials, which can help create a polished look.
Making informed decisions about materials will enhance both the aesthetic and functional aspects of your installed tiles.
Staying Organized During Installation
Finally, staying organized throughout the installation process is essential. Preparation and organization can lead to a more fluid installation.
Create a Checklist: Write down all the materials you'll need, from tiles to tools. Having a checklist can help you keep track of what has been completed and what still needs to be done.
Designate a Workspace: Set aside an area for the installers to work. This keeps the installation process organized and helps minimize the risk of accidents.
Communicate with Installers: Stay in touch with your installation team. Keep them informed of any concerns or requests you might have. Open communication leads to a smoother project.
Be Prepared for Cleanup: Recognize that tile installation can be messy. Have trash bags ready for debris and dust. This ensures your space stays as clean as possible during the process.
By maintaining organization and an open line of communication, you can help the installation go smoothly, leading to a successful outcome.
Final Thoughts on Preparation for Tile Installation
Preparing your home for a tile installation project may require time and effort, but the results are always worthwhile. An aesthetically pleasing and durable tile floor can transform any room.
With careful planning, you can enhance the quality of the tile installation process, making it a positive experience from start to finish. Don't forget to take your time in preparation – it can make a world of difference.
If you’d like to learn more about the benefits of tile flooring and the specifics of the tile installation process, explore additional resources or consult with authentic professionals. Happy tiling!


Comments